Note: There are two versions of SSO set up. The free version requires users to enter their credentials, and the paid version uses a custom domain set up so there is seamless login for users. Contact support@awarego.com if you have questions or need a custom set up for SSO.
Integrate your AwareGO account with your Azure SSO to simplify logging in to the AwareGO portal.
Once set up, employees will use your company's credentials to log in to our training portal.
By doing so, you have control over what security level is needed.
To get started:
1. Open Windows Azure Management Console (https://portal.azure.com/#home) and follow these steps:
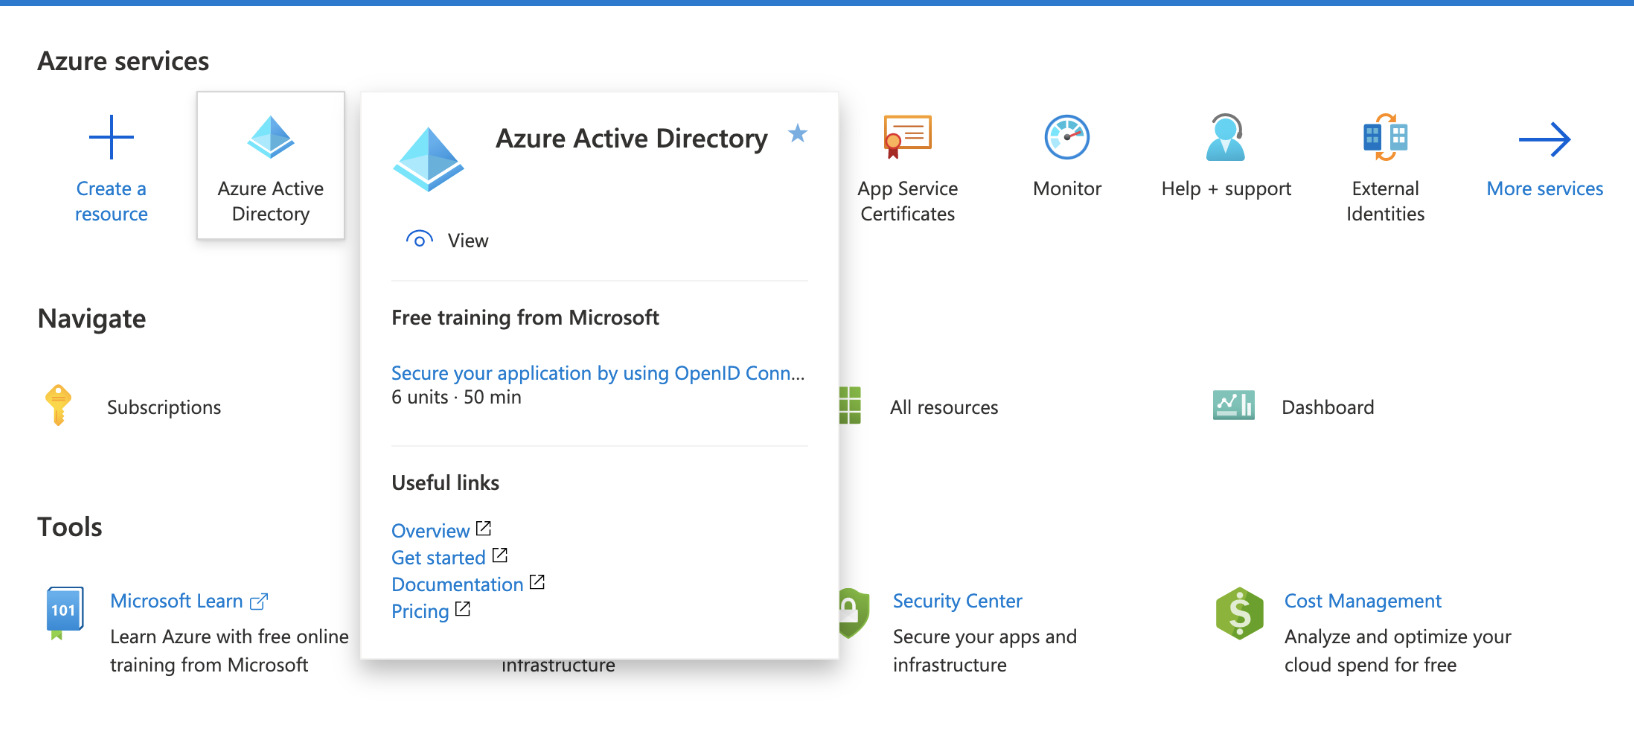
a. On the top navigation pane, use the search box to find Microsoft Entra ID.
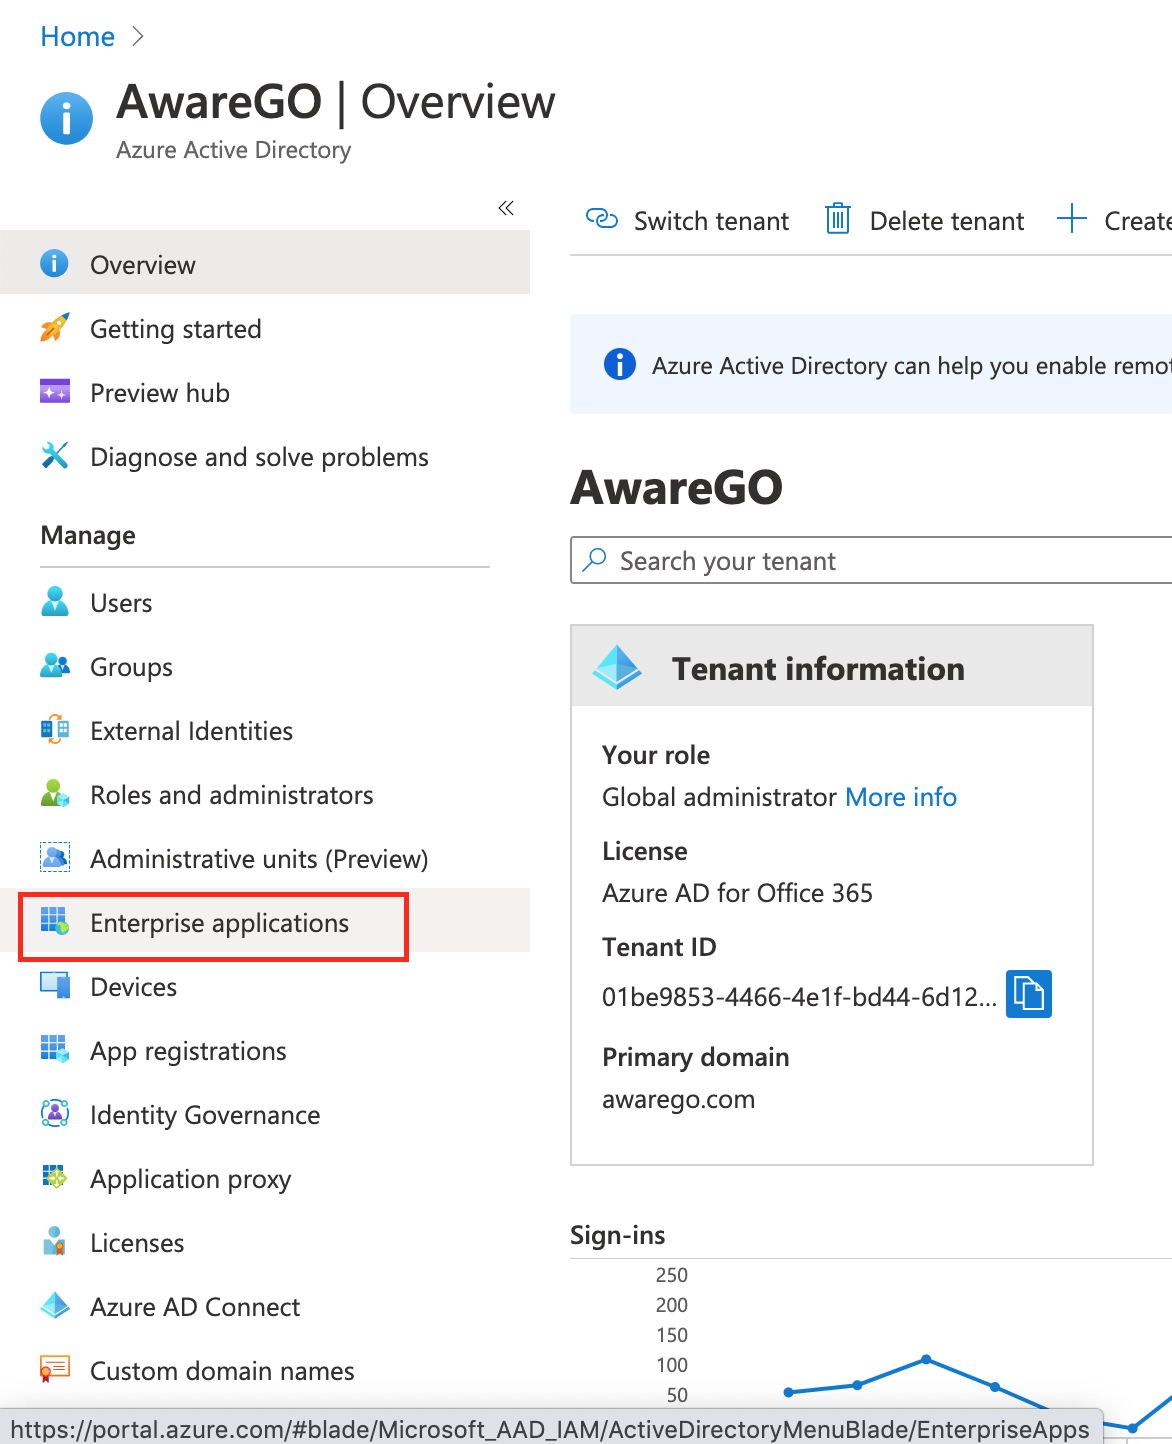
b. In the left navigation pane, select Enterprise applications.
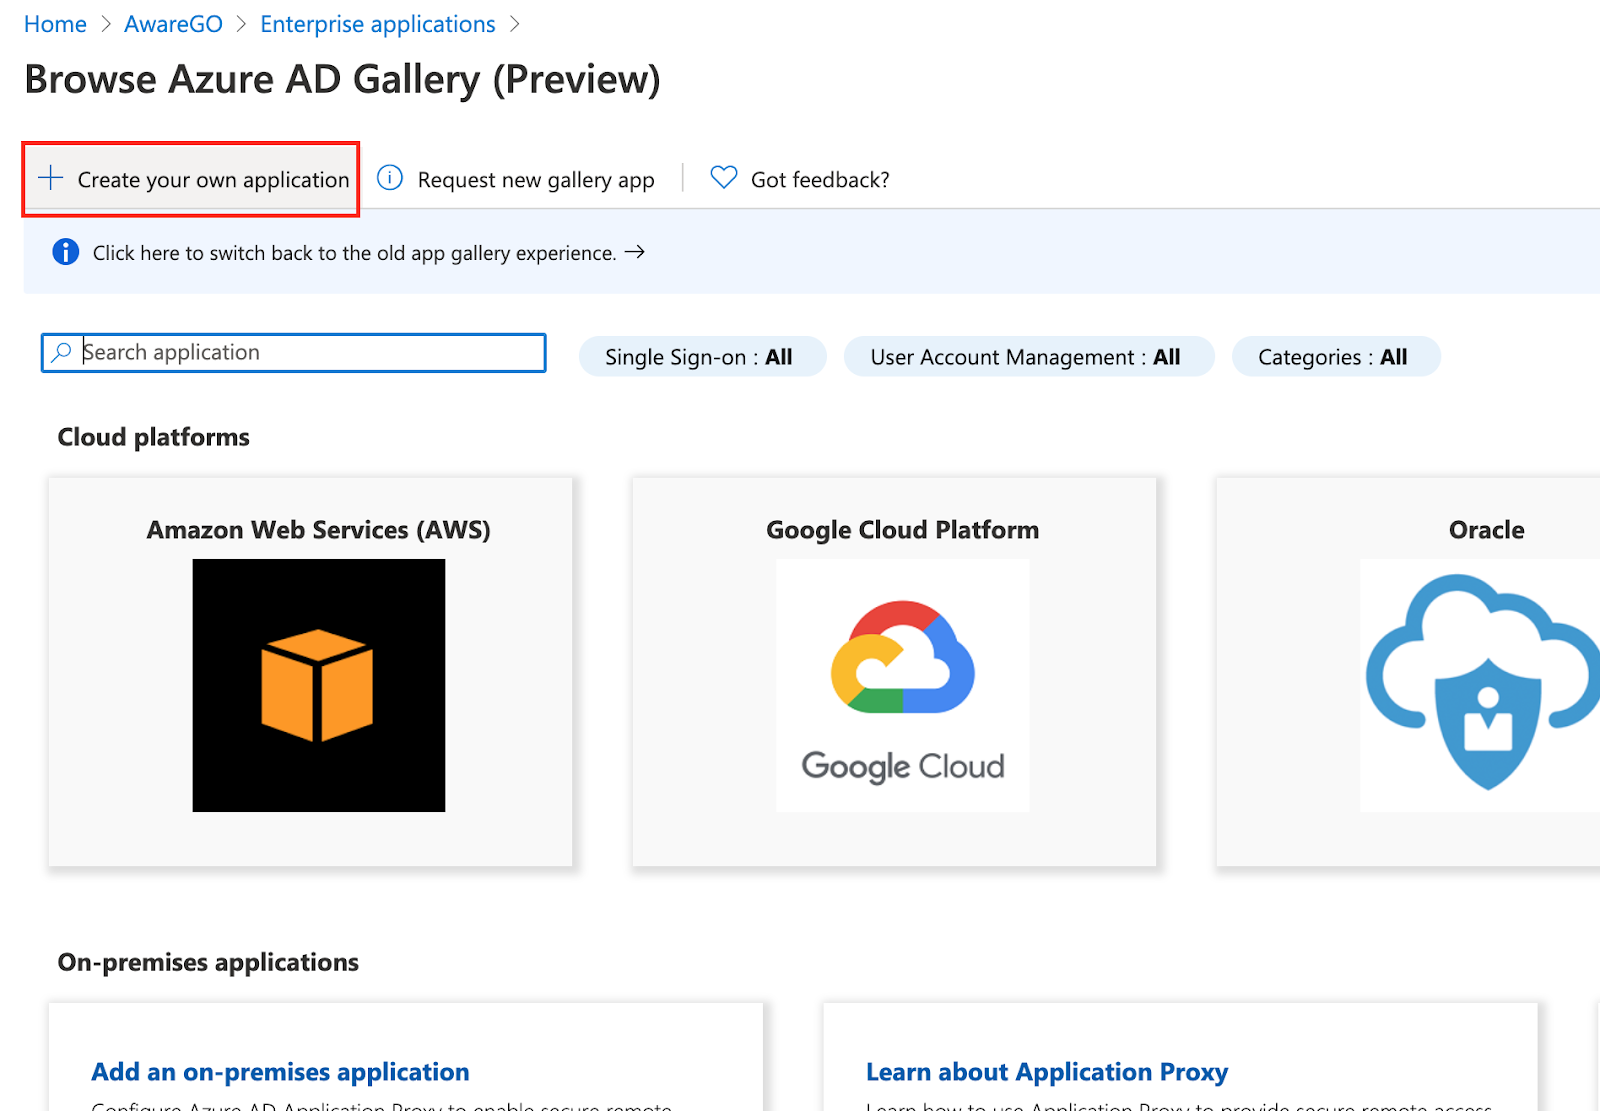
c. From the top bar select Create your own application.
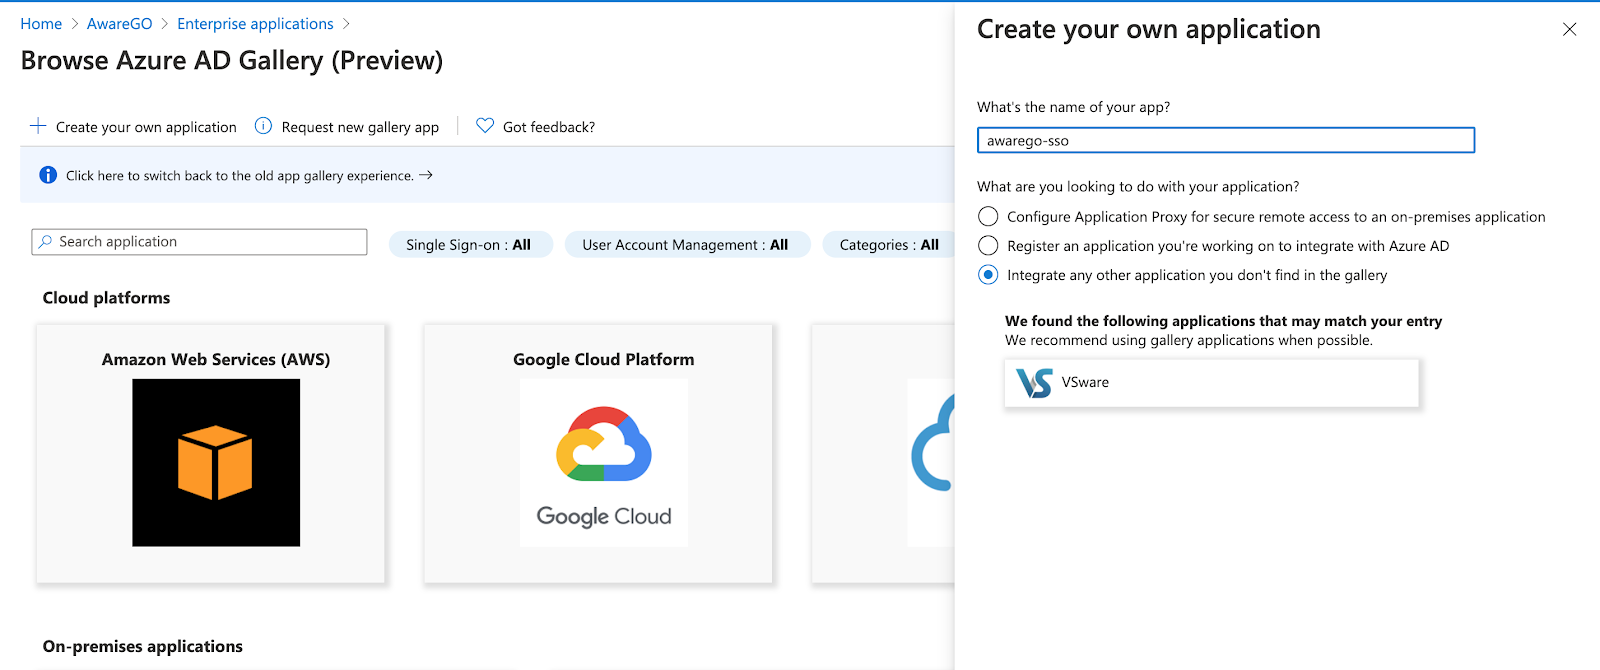
d. Give it a meaningful name like awarego-sso or something that makes sense in your company's naming strategy.
Keep the default radio-button "Integrate any other application you don't find in the gallery (Non-gallery)" as selected.
Push the "Create" button.
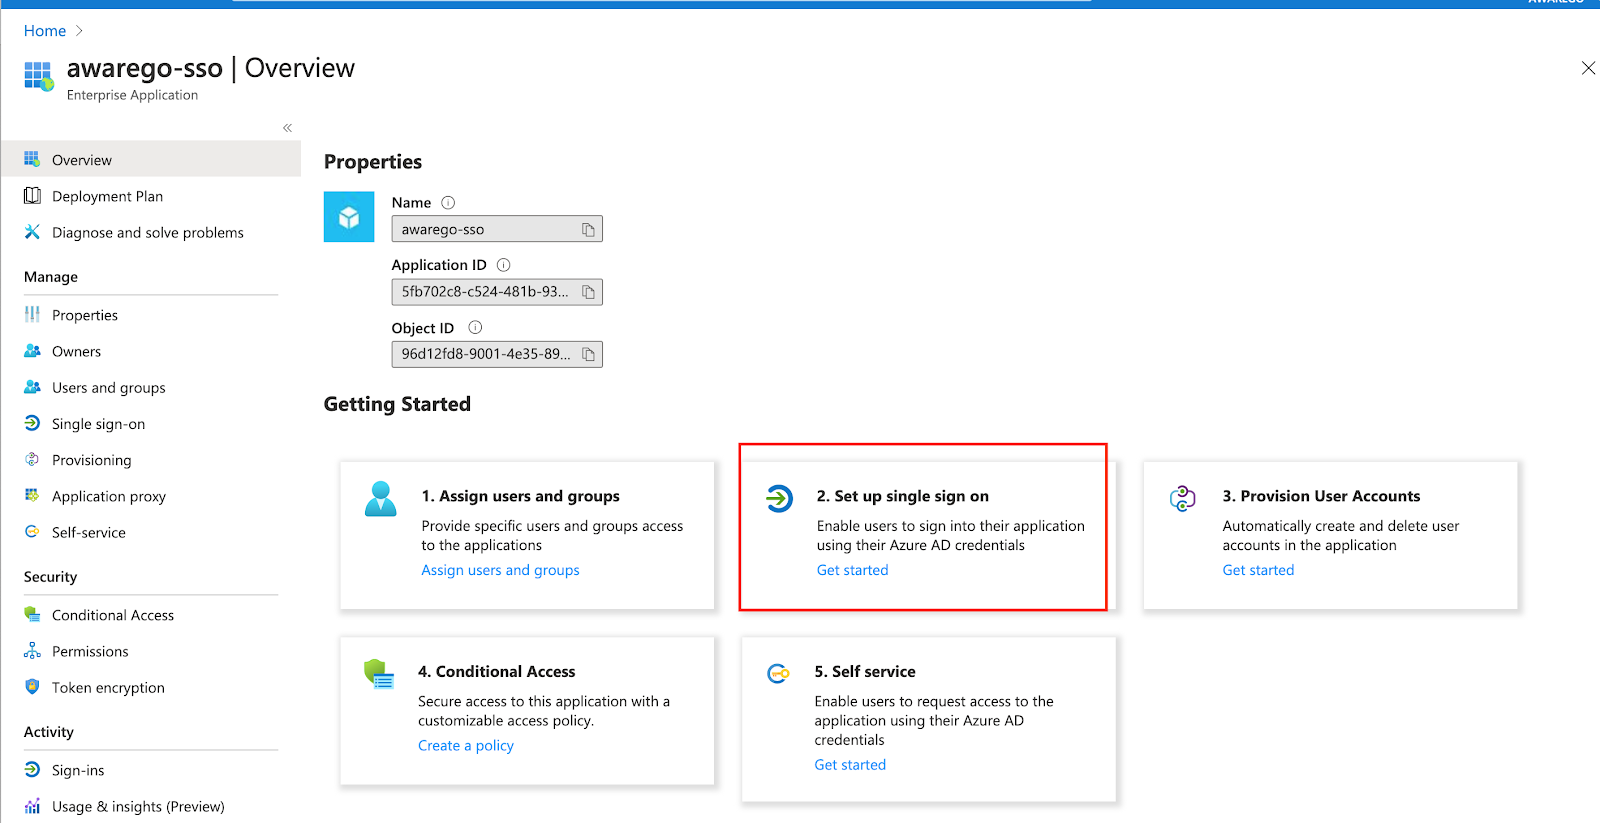
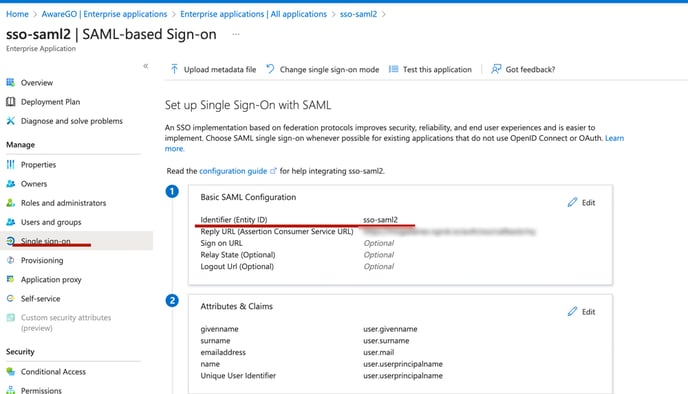
e. Select the option Set up single sign-on.
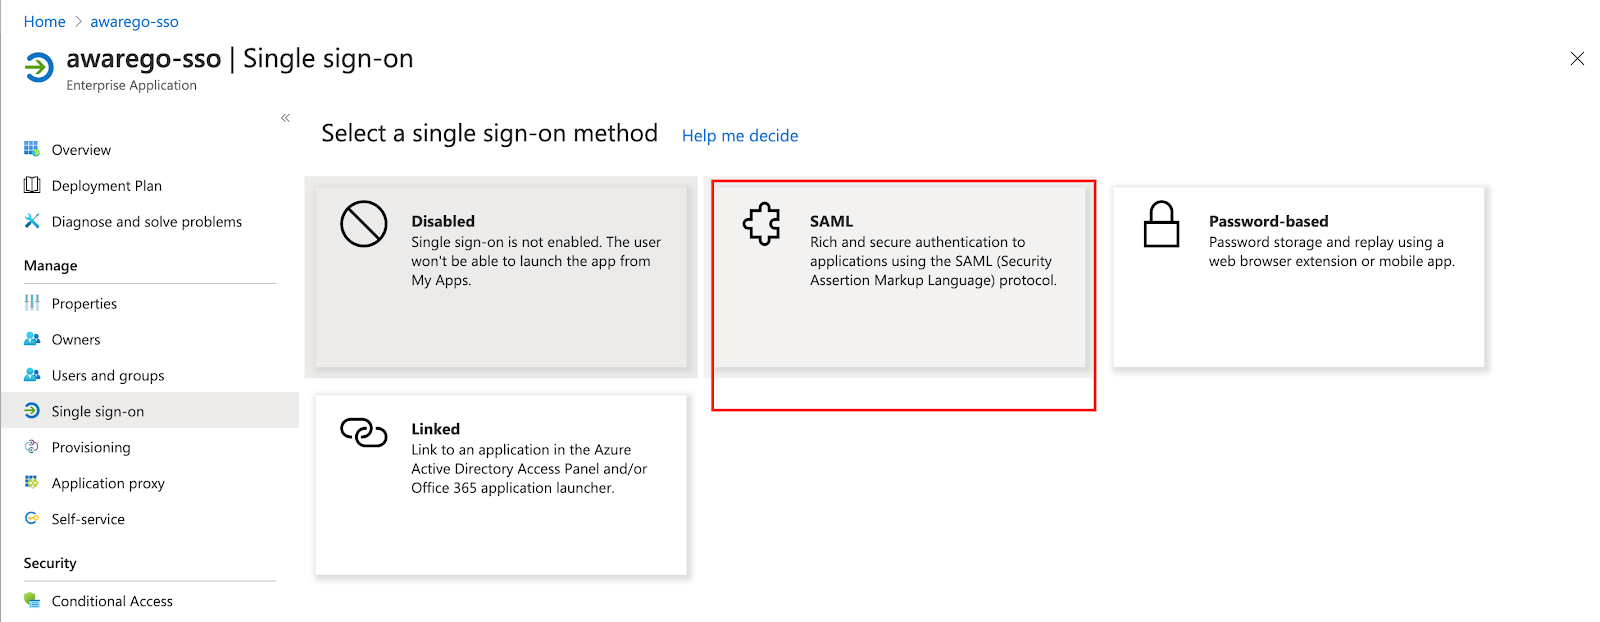
f. Select SAML as security protocol.
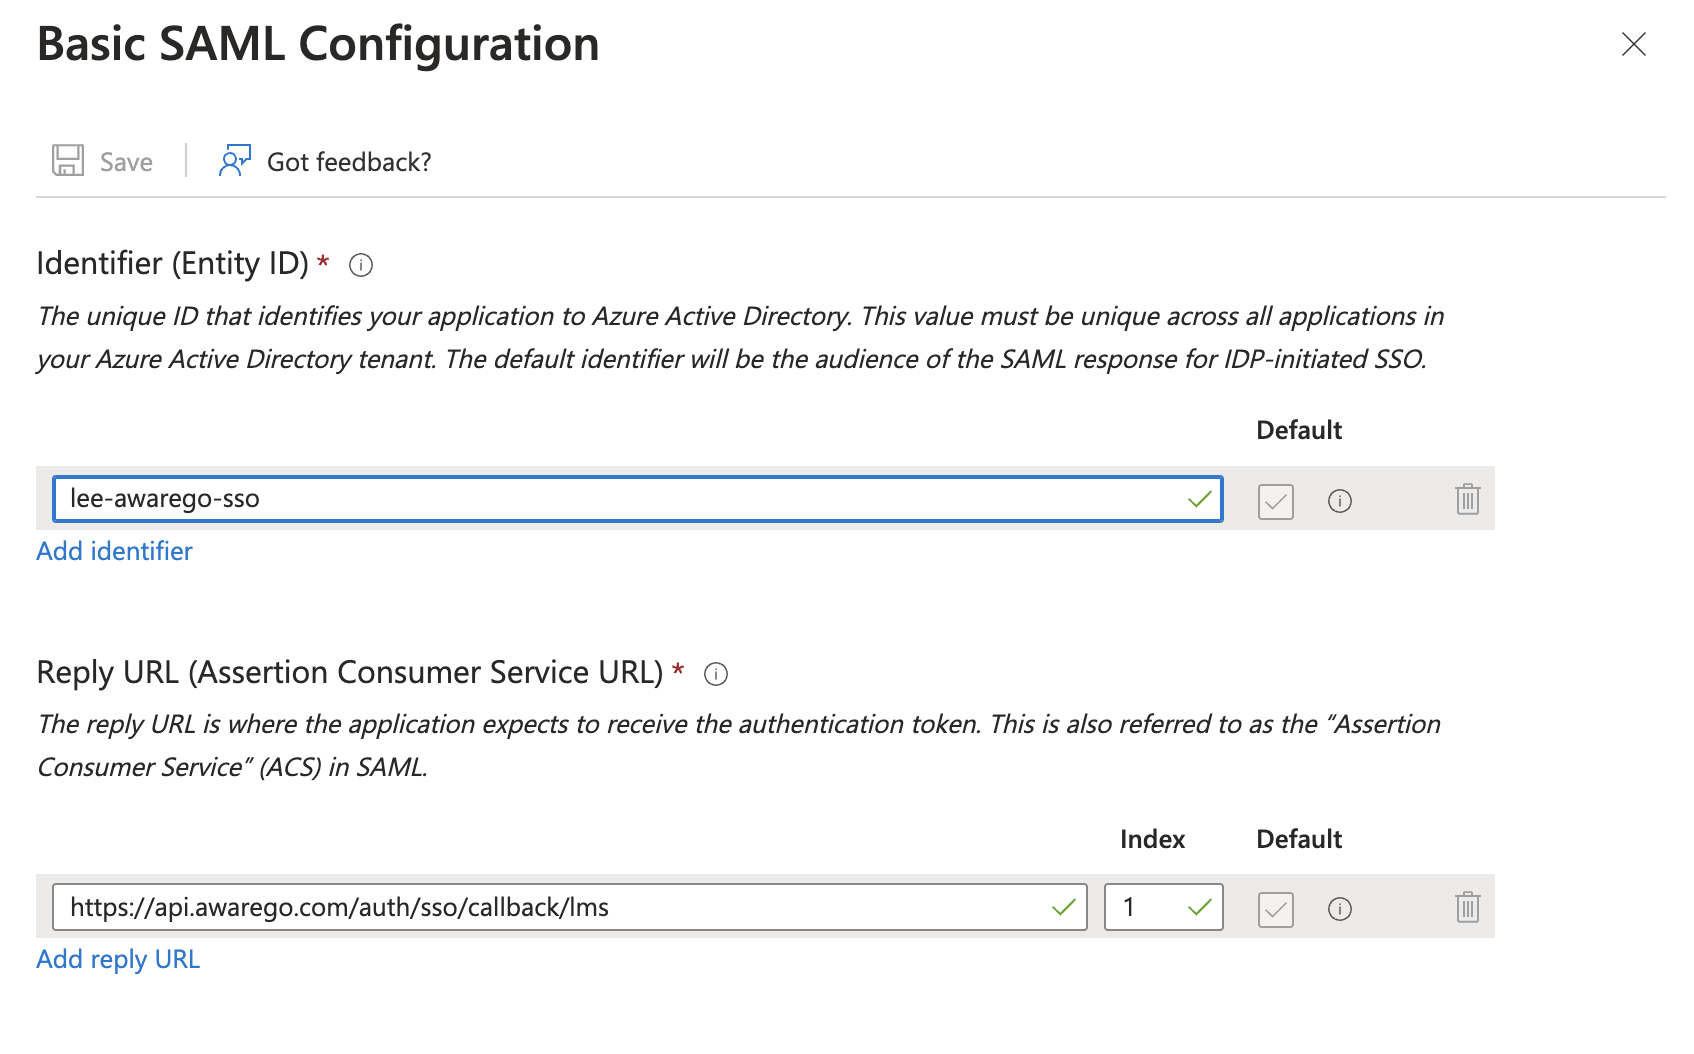
g. Set “awarego-sso” as Identifier.
-
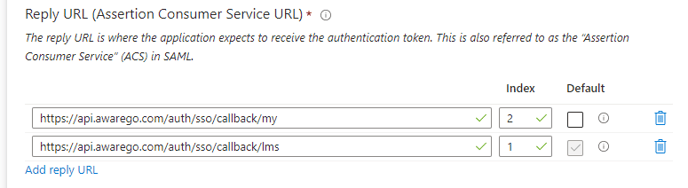
- Create a new entry in "Reply URL (Assertion Consumer Service URL)" with value: https://api.awarego.com/auth/sso/callback/lms and "index" as 1.
- Below that is Add reply URL as Index 2 - enter this URL in the input box: https://api.awarego.com/auth/sso/callback/my
Note that those are two different URLs, the first one is for the management part of our system and the second one is for the employee-facing training part. - Don’t forget to push the Save button.
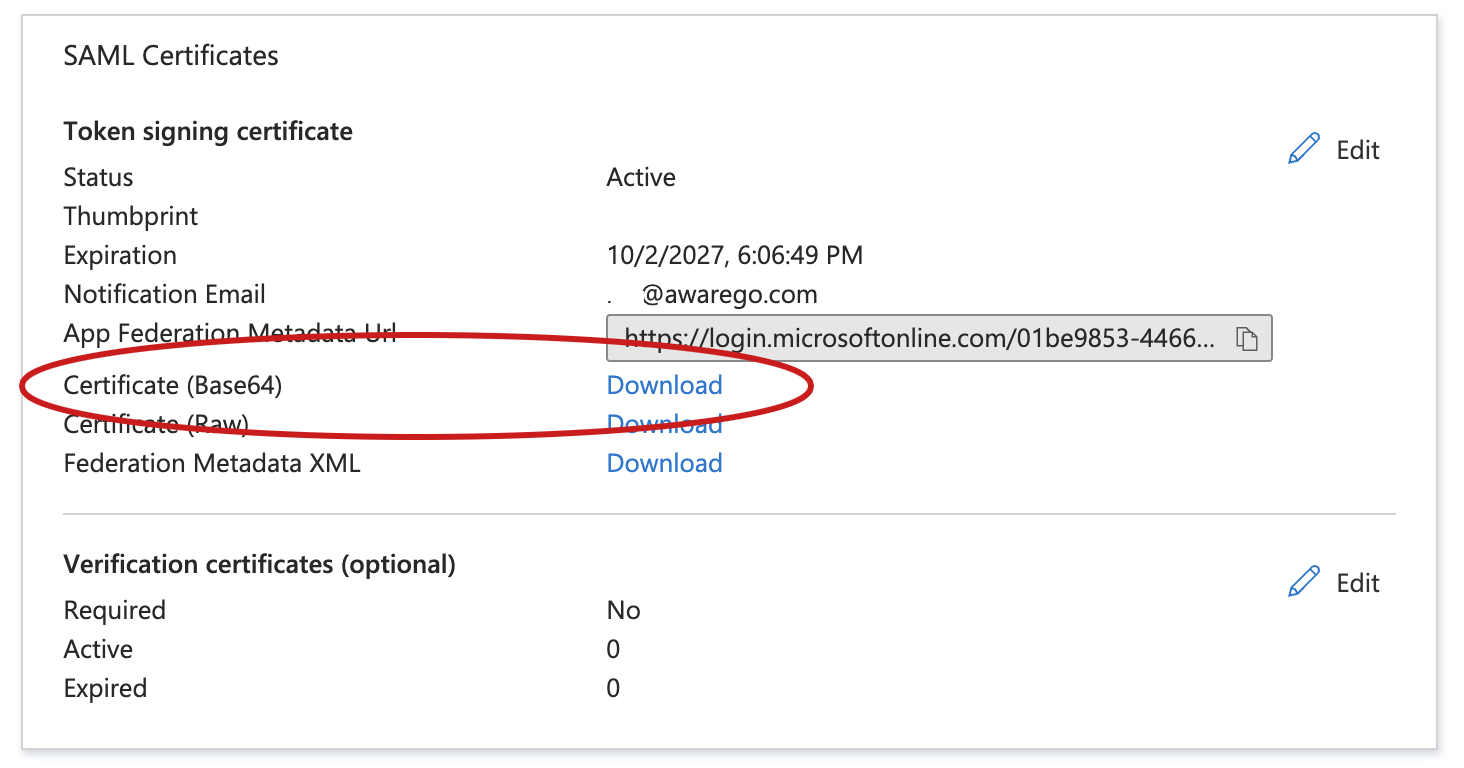
h. Download the Certificate and copy the login URL that has now been created.
Now we move over to the AwareGO LMS system.
1. Go to Settings and select Integrations.
2. Select Azure SSO.
https://lms.awarego.com/settings/integrations/azuresso/
3. Insert the values we gathered prior in the process. For Certificate recommended use browse file function.
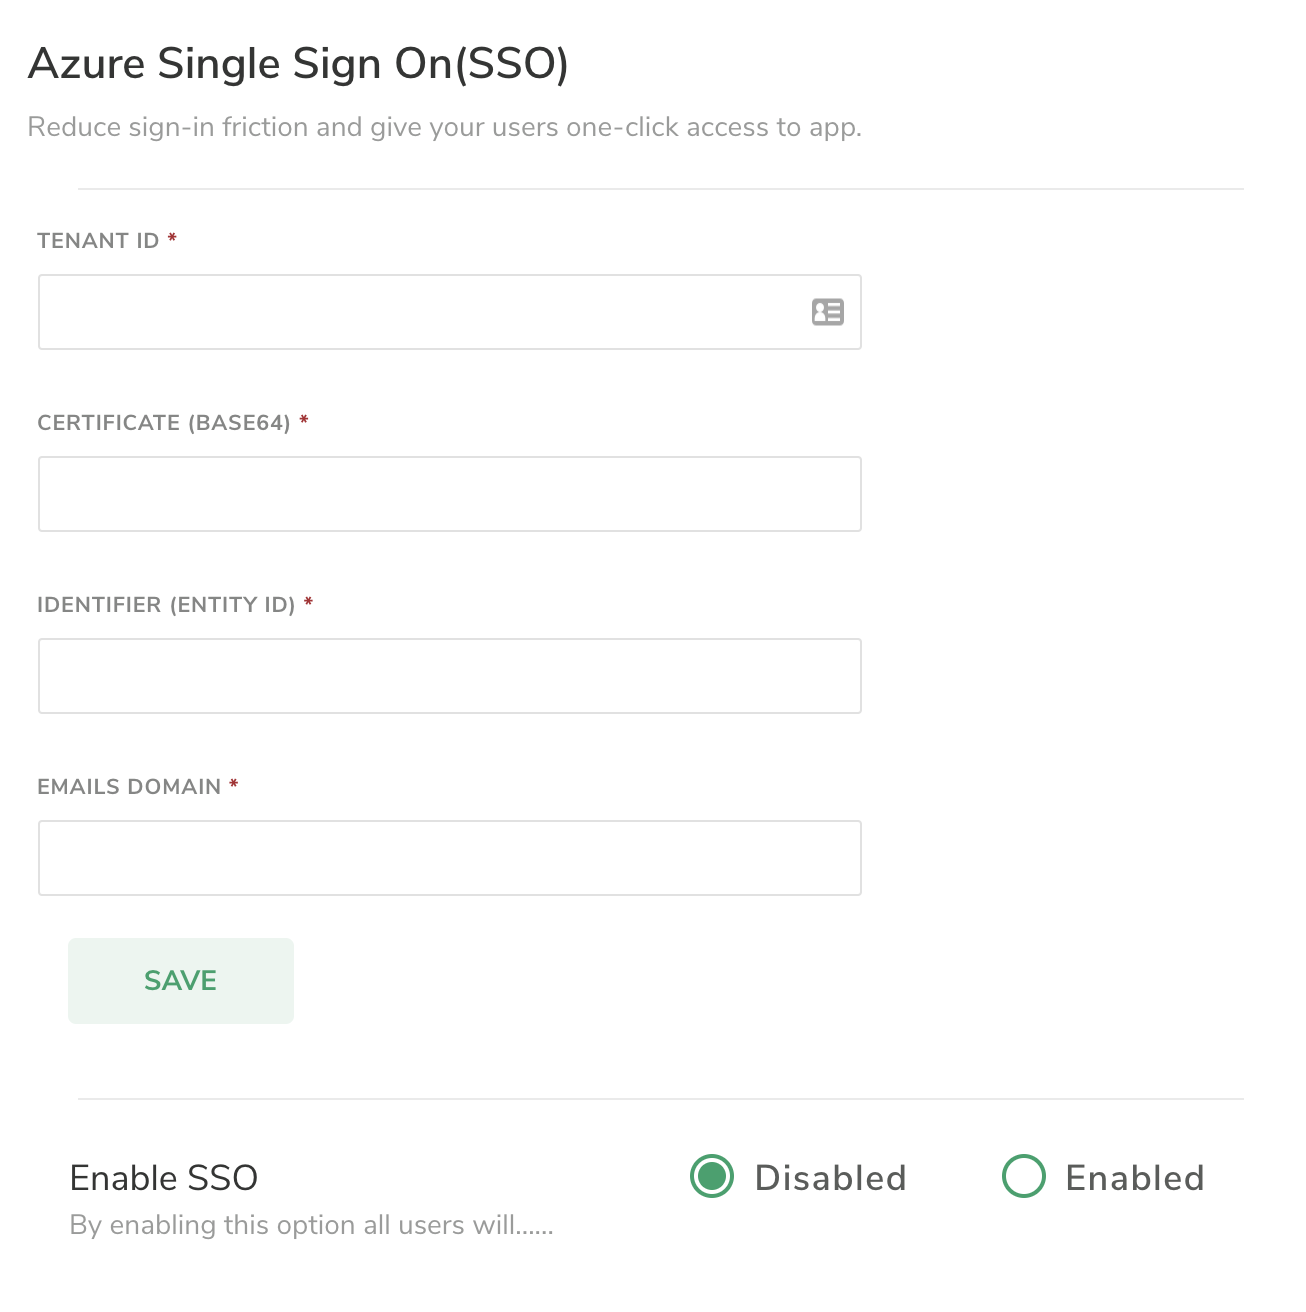
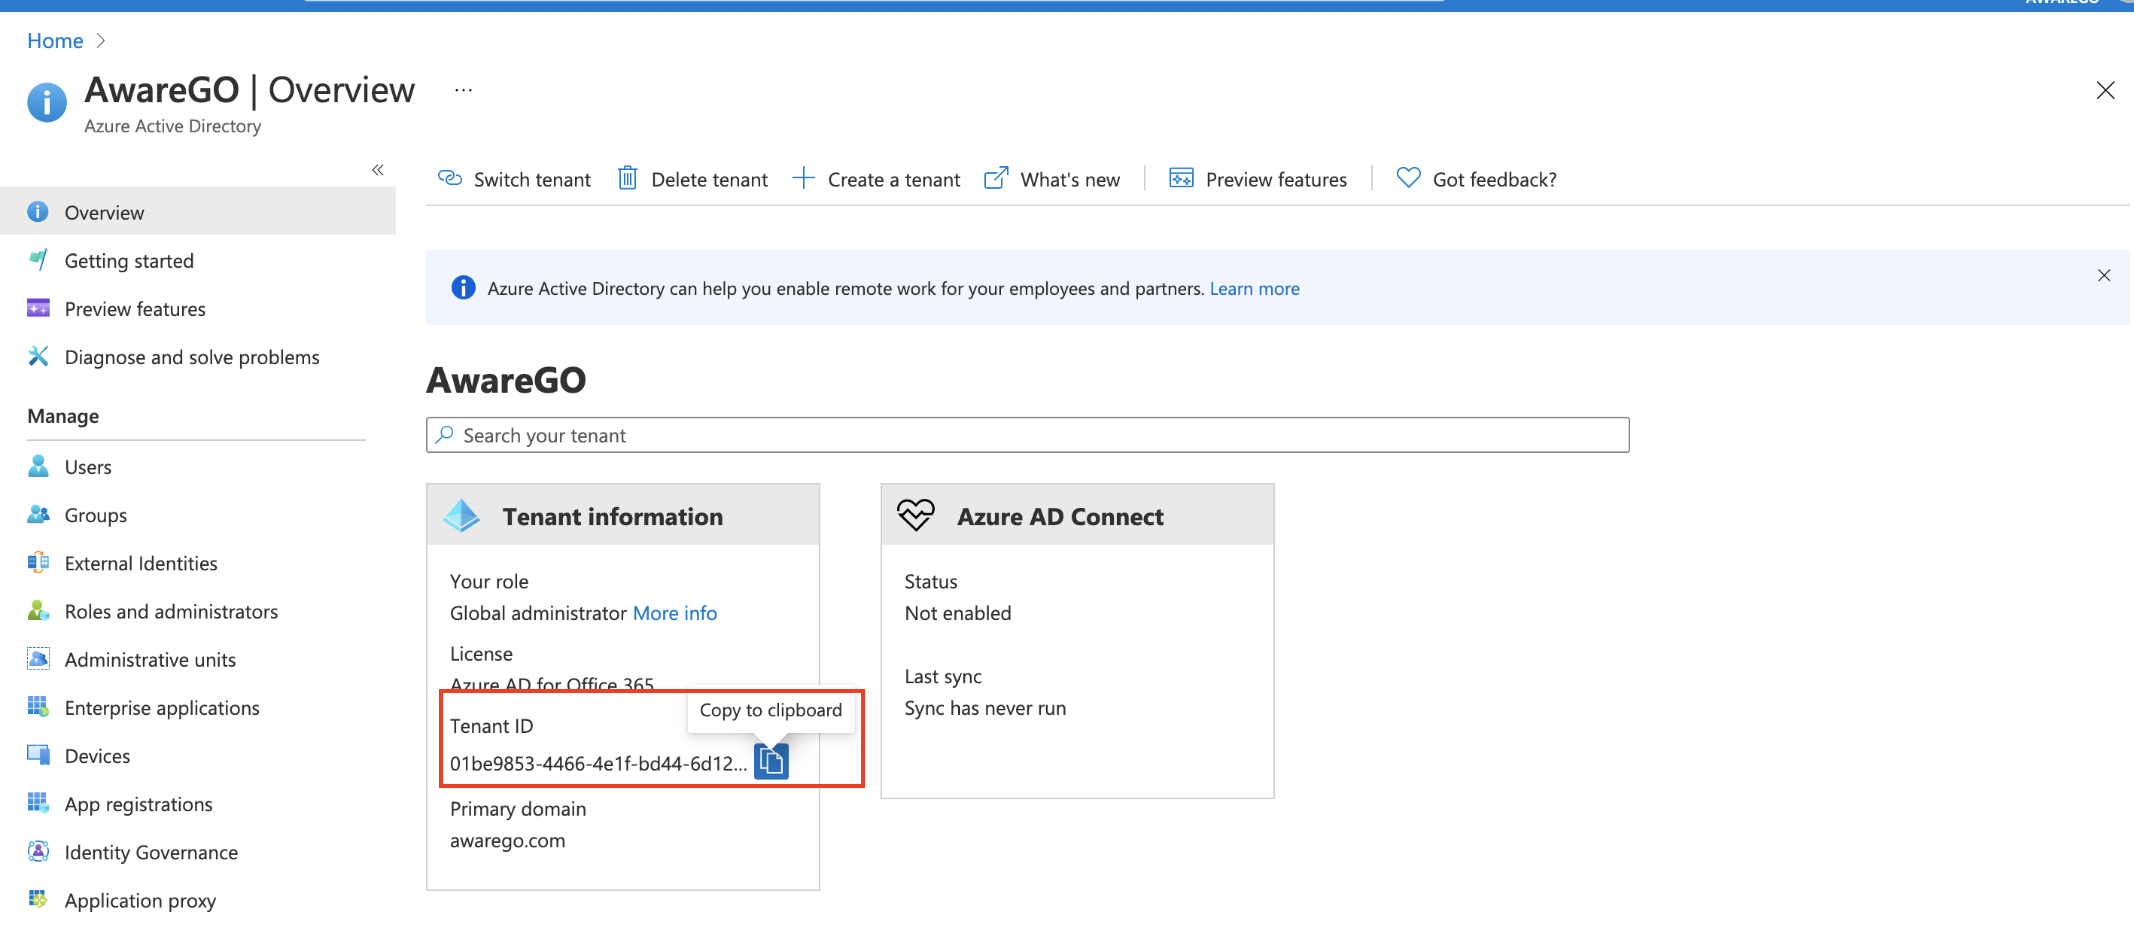
a. Tenant ID: Open Azure portal home > open Azure Active Directory service > Click on the copy button next to Tenant ID in Tenant information
b. Certificate (Base64): Copy the certificate from the file that you downloaded and paste it here in the allocated field or use browse to select the downloaded certificate from your computer.
c. Identifier (Entity ID): Can be found under application properties: Application ID (see picture below).
d. Emails Domain: This can be a comma-separated list of domains covered by your AD.
4. Press Save.
5. Provisioning ( optional )
In Application Overview click on Provisioning
Select "Connect your application"
Take values from AwareGO LMS side:
And put them into Azure side:
FAQ
Why should I set up Azure SSO?
Setting up Azure SSO lets you decide what security level is needed for the training and access to the LMS platform. Your security policy is then in control who has access to the application and what level is needed. For example two factor authentication is in your security guidelines then that will be implemented here also.
Another feature is that you can start to use generic links for training. In our standard version we are creating unique-login-link for each employee that directs them straight to their training when clicked. That means that the link can not be shared between employees.
If you have Azure SSO you can simply distribute one generic link and upon login we will provide each user the correct training material.
Why can’t I upload these credentials myself on the admin portal?
This is a new service and the SSO settings page is currently in development.
What is the difference between Azure SSO and Azure AD sync?
The Azure SSO gives your employees the ability to login seamlessly with your own credentials.
Azure AD sync gives you, the admin, ability to import your list of users from AD to create targeted training campaigns.
How can I link directly to the training portal so it automatically sign you in using existing SSO session.
You go to https://my.awarego.com/sso